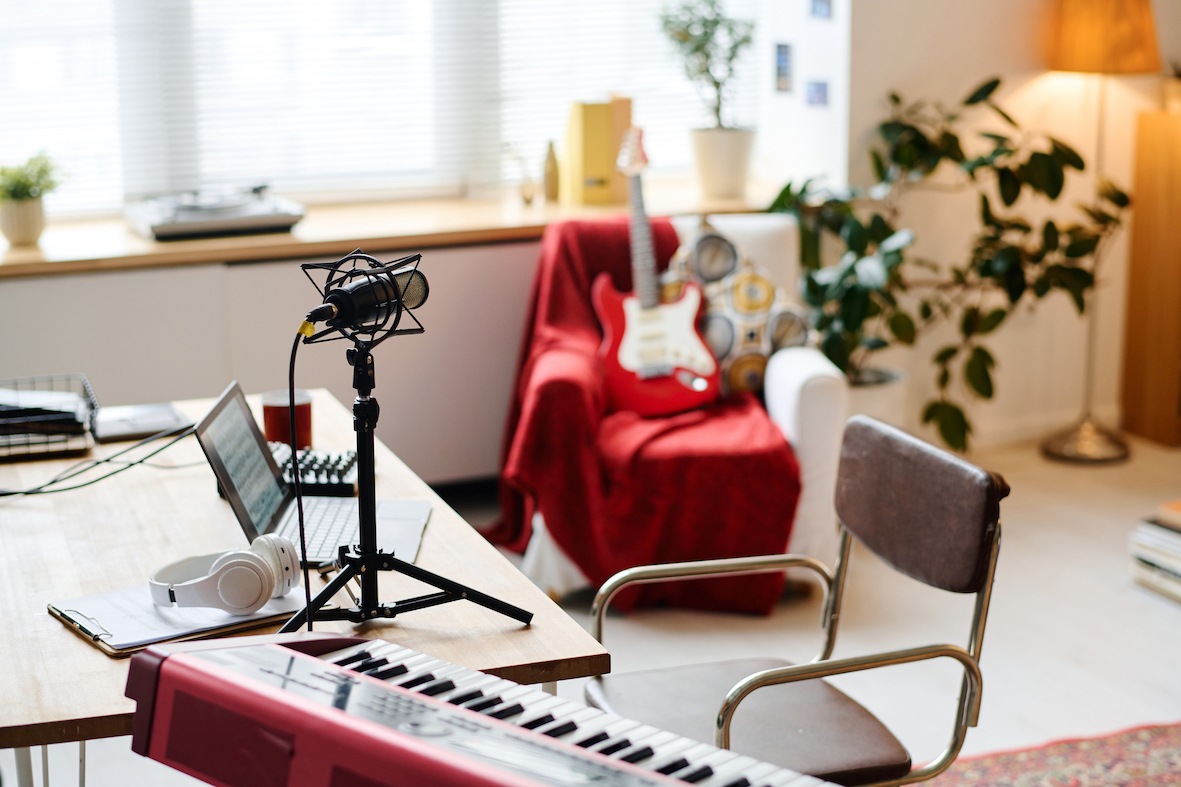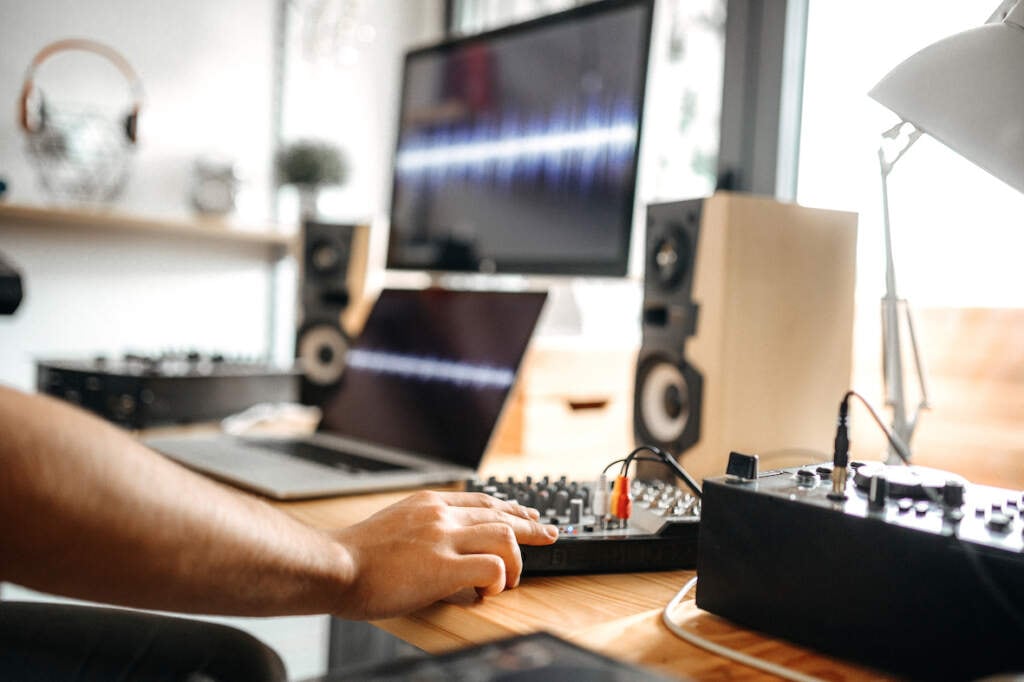
Nowadays, anyone can record music or a podcast at a professional level from the comfort of your home. There’s no longer any need for spending the big bucks on a professional studio. With the right studio equipment, you can create quality recordings in your own home studio and let your creative expression run wild.
With the advancement of technology, setting up your home studio has become more accessible and more affordable than ever. Whether you’re a musician, producer or podcaster, having a dedicated space to create can make the experience of recording more productive and more comfortable.
If you’re wondering how to set up a home music studio, we’ve got you covered, no matter the size of your home. In this article, we’ll explore the essential elements of setting up a home studio.
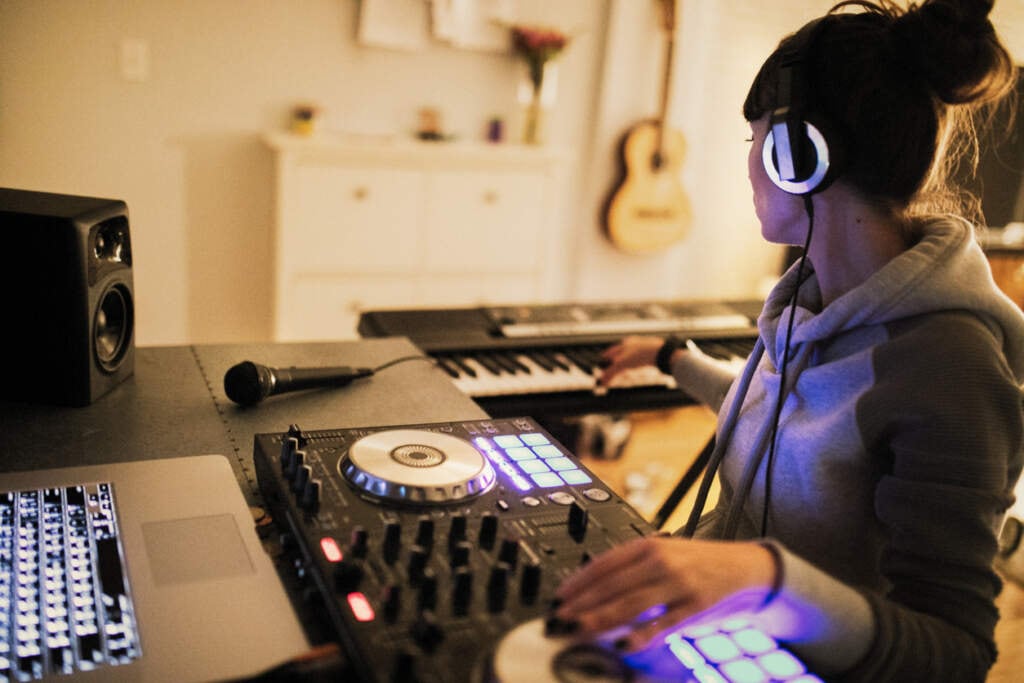
What You Need For a Home Studio
When it comes to what you need for a home studio, there are some essentials. From a comfortable space to basic recording equipment, we’ll run through what you need to set up a home music studio.
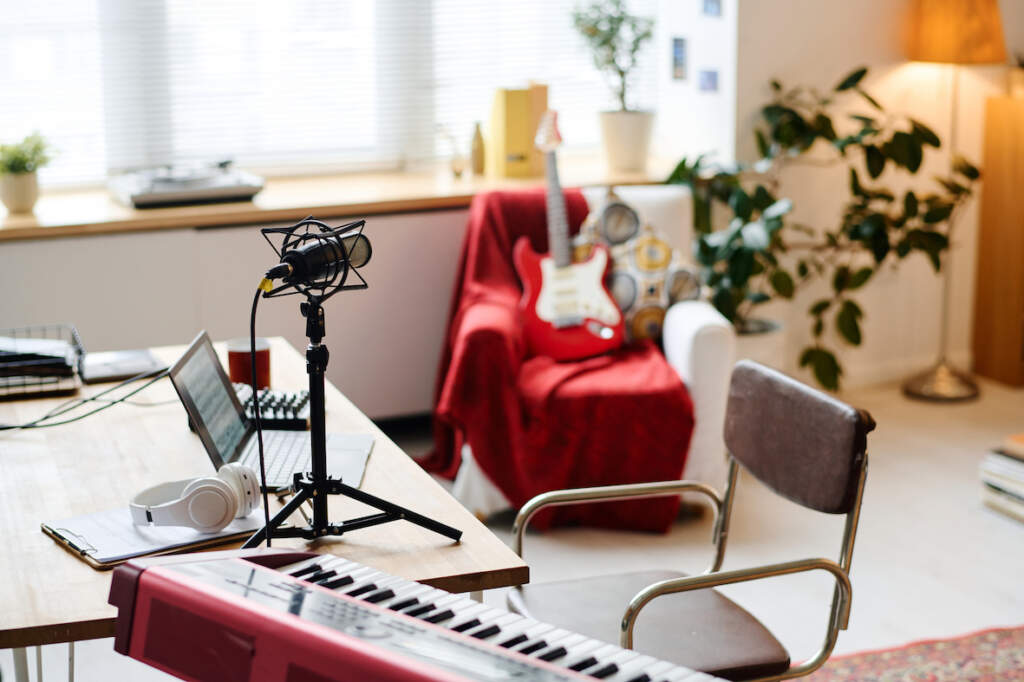
The basic studio equipment you’ll need is:
- A comfortable space with a desk and office chair
- A quality computer or laptop
- Digital Audio Workstation (DAW) Software
- An audio interface
- Studio speakers
- Headphones
- A Microphone
- Leads and cables
Home Office Essentials
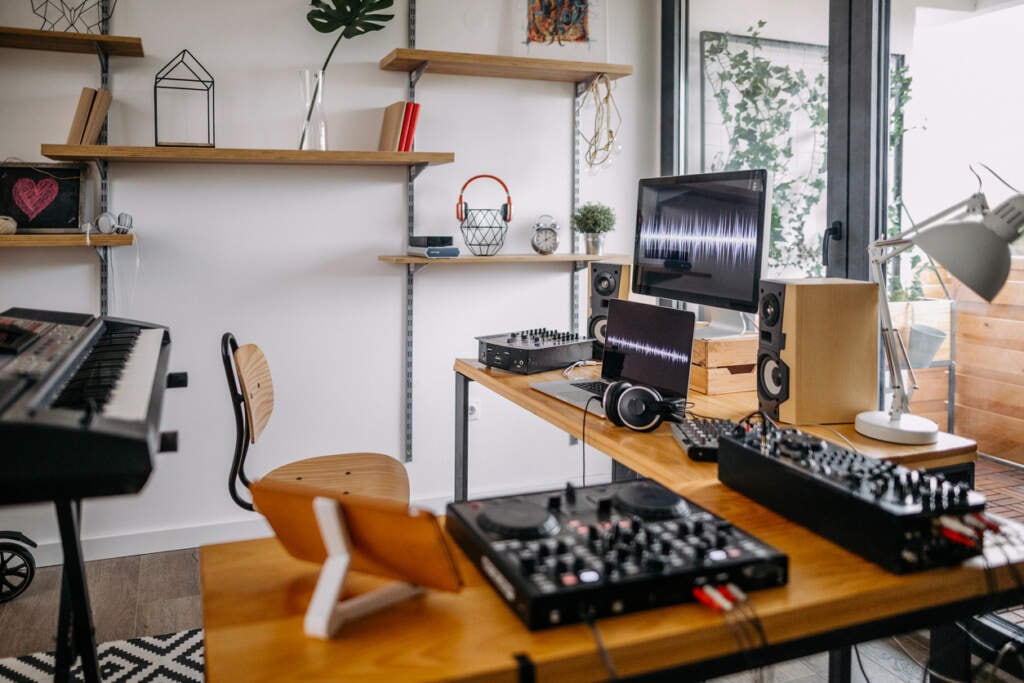
Your studio needs to be comfortable, which means you need a quality desk, office chair and storage like shelves. Opt for a desk with plenty of space, a desk chair that is ergonomic or comfortable to sit in for hours at a time and sturdy shelves you can use to store your equipment and other essentials.
Computer or Laptop
To get started with your home studio, you’ll need a decent, reliable computer or laptop. If it’s within your budget, opt for a device with optimal storage space and RAM.
Monitor
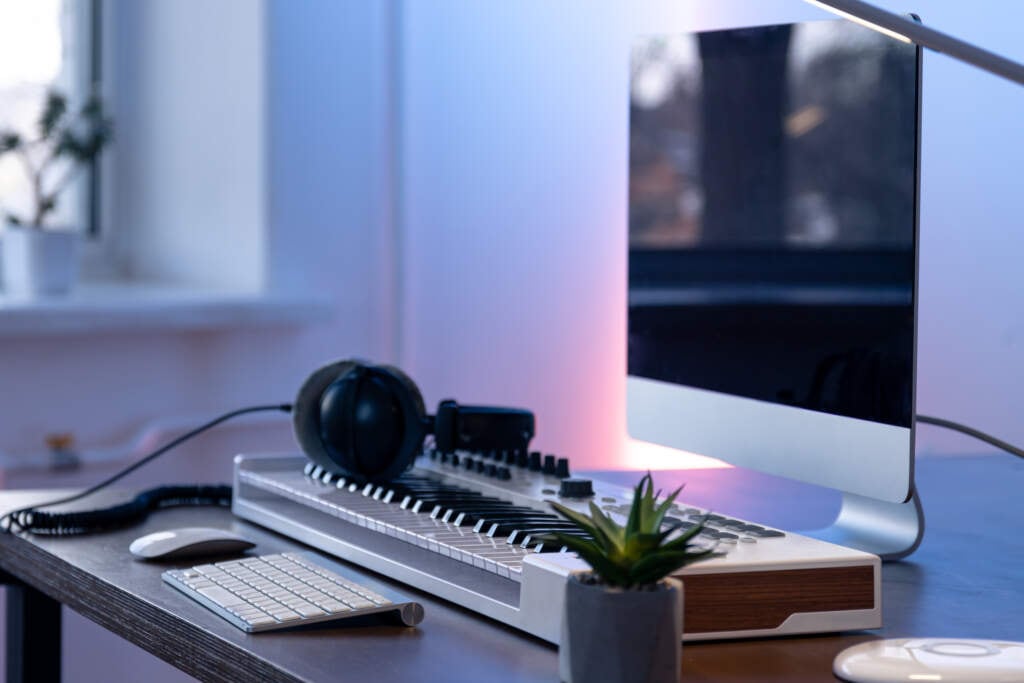
If you use a laptop, consider buying a monitor screen. Studies show that working on a larger screen can help boost productivity. A larger screen will help you organise tracks, and see your entire project without zooming in and out.
Digital Audio Workstation (DAW)
A Digital Audio Workstation, or DAW, is a software platform where you record, edit, mix, and master your music. With a wide range of features and capabilities, a DAW allows you to bring your musical ideas to life. Popular choices include Ableton Live, Logic Pro, GarageBand Pro Tools, FL Studio, and Cubase.
Audio Interface
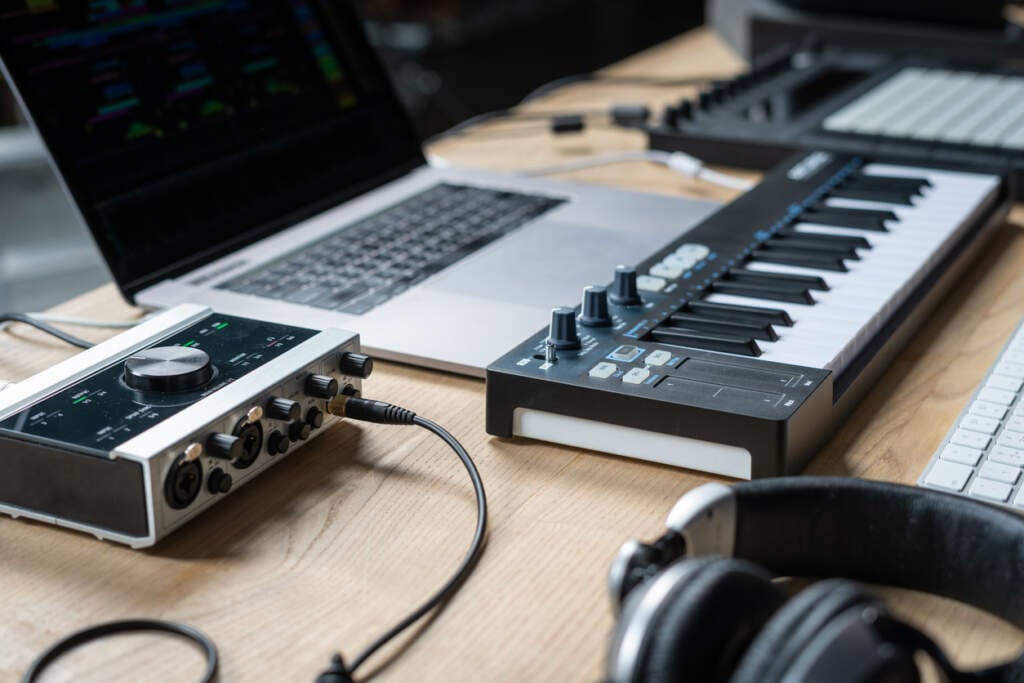
An audio interface allows you to connect your microphone, instruments and other audio sources like a midi controller to your computer. Look for an interface that offers high-quality preamps, multiple inputs and outputs, and low-latency performance. Also, factor in how many inputs you need or how many sources you plan to record at once. Ensure compatibility with your computer’s operating system and the software (DAW) you plan to use.
Studio Monitors
Wondering what studio monitor to get for your home music studio? Studio monitors, unlike regular speakers, are designed to provide a flat frequency response, so you can hear your mix without any colouration.
Consider the size of your space when choosing studio monitors. Near-field monitors are ideal for small and medium-sized rooms, while larger rooms require mid-field or far-field monitors.
Placement is important, so position the monitors at an equal distance from your listening position, forming an equilateral triangle. This setup helps create a balanced stereo image and accurate sound.
Microphones
Depending on your recording needs, choose a versatile microphone for vocals, like a large-diaphragm condenser microphone, and dynamic microphones for instruments and amplifiers.
Dynamic microphones are versatile and rugged, ideal for capturing vocals and instruments in live performances or high-volume environments.
Condenser microphones offer exceptional sensitivity and detail, making them suitable for studio vocals, acoustic instruments, and capturing nuances in sound.
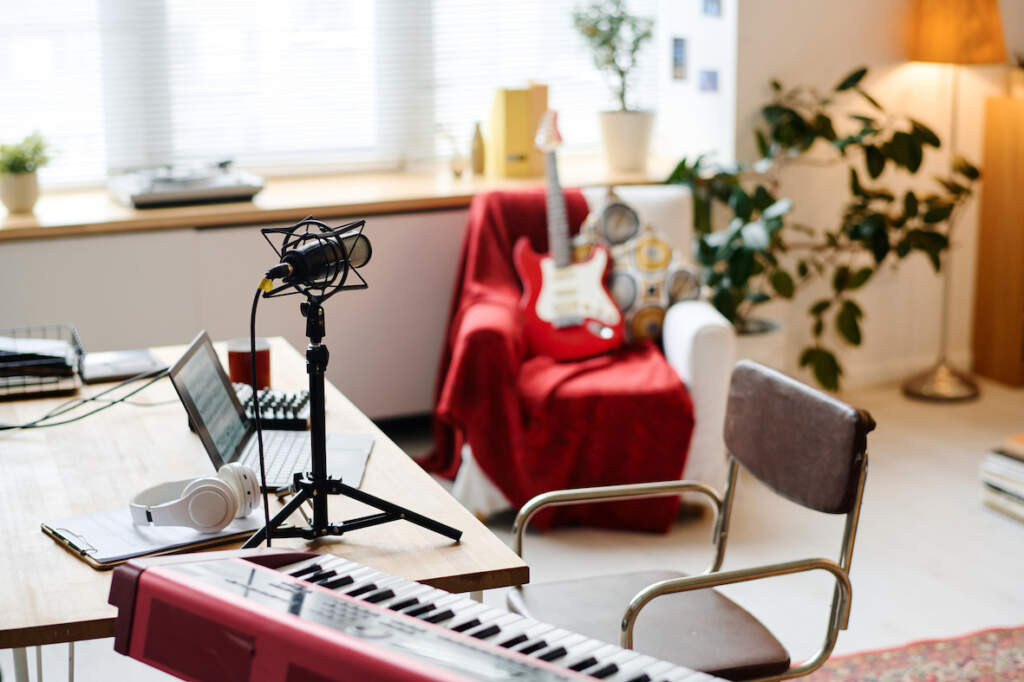
Choose a microphone based on your recording needs and budget. For vocal recording, a large-diaphragm condenser microphone is a popular choice. Also, consider investing in a pop filter and a microphone stand to enhance recording quality and ease of use.
MIDI Controller
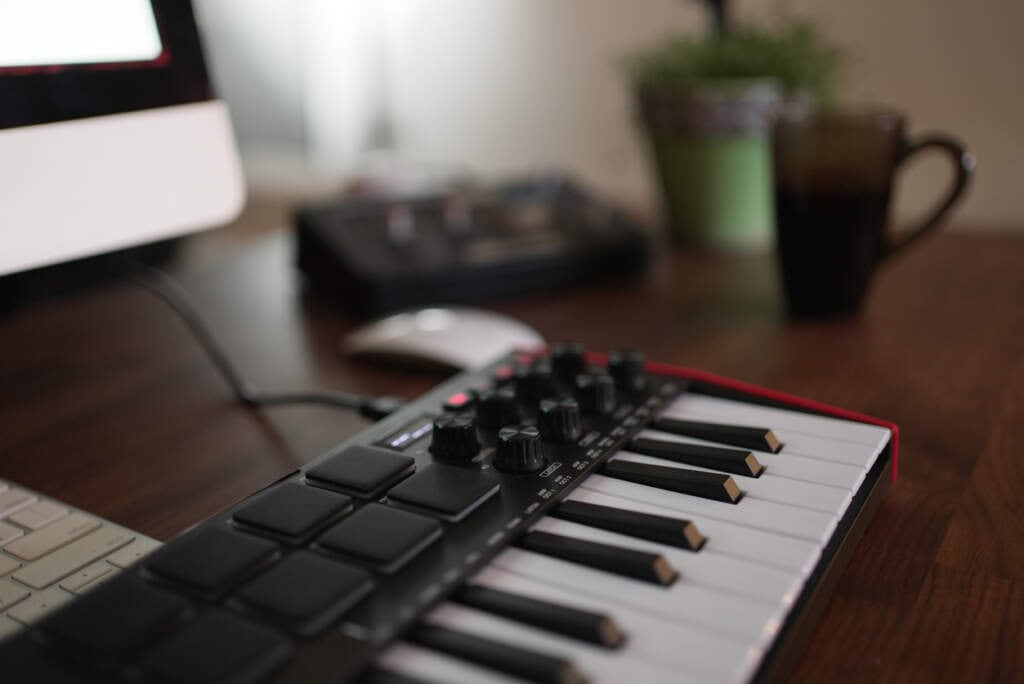
A MIDI controller is a versatile tool that allows you to record with virtual instruments, software synthesisers, and digital audio workstations (DAWs). Look for a MIDI controller that suits your needs, whether it’s a compact keyboard, a pad controller, or a combination of both. Consider the number of keys, pads, knobs, and faders based on your preferred style of music production. Make sure it’s compatible with your chosen DAW.
Headphones
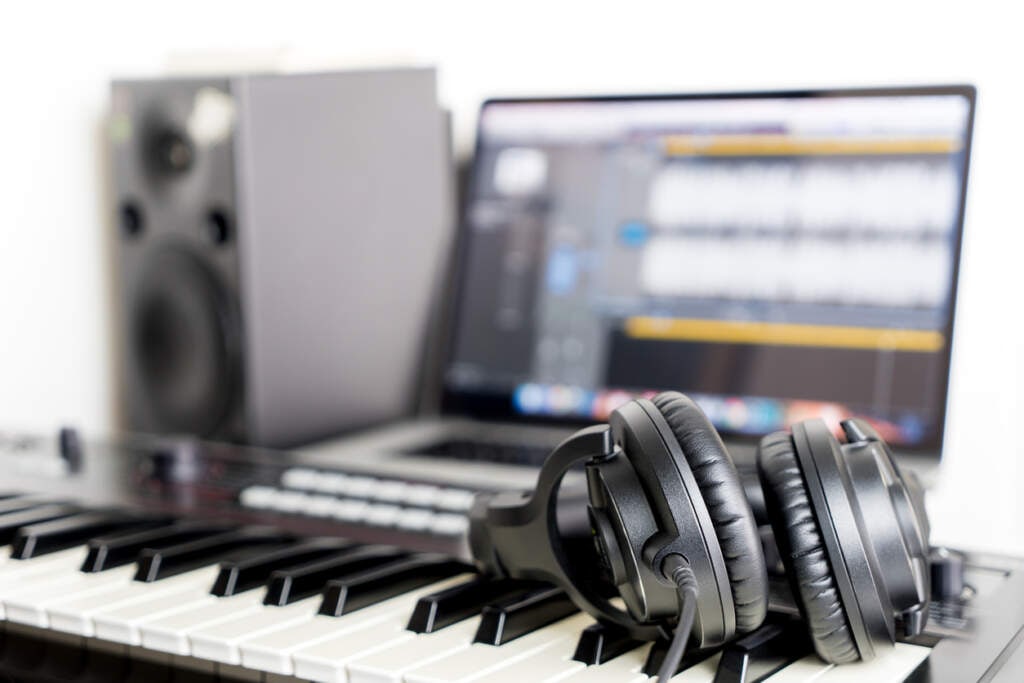
A good pair of headphones is essential! Closed-back headphones help isolate sound and prevalent leakage during recording, while open-back headphones offer a more natural and spacious sound for mixing and mastering. Look for headphones designed for recording and mixing so you can hear the full range of frequencies in the sound. Consider headphones with adjustable headbands, cushioned ear cups and a lightweight design for optimal comfort.
Cables & Accessories
To set up your home recording studio, you’ll need a variety of cables and leads to connect your equipment. Here are some essentials:
- XLR Cables: These balanced cables are used to connect microphones and other audio devices to your audio interface or mixer.
- TRS Cables: TRS (Tip-Ring-Sleeve) cables are commonly used for connecting studio monitors, headphones, and audio interfaces.
- MIDI Cables: MIDI cables are essential for connecting your MIDI controller to your computer or other MIDI devices.
- Patch Cables: Patch cables are used for connecting audio modules, synthesisers, and effects processors within your studio setup.
- Adapters: Adapters ensure compatibility and connectivity between different devices, allowing you to connect various audio connectors and adapt to different input and output configurations.
How to Set Up a Basic Home Recording Studio
When it comes to the question of how to set up a basic home recording studio, the room you choose to set it up in is important. No matter the size of your home, you can set up a professional-sounding studio with the right positioning and soundproofing.
Choose the Right Room
Selecting the ideal room for your music studio is important. Opt for a room that offers enough space, good acoustics, and minimal external noise. Avoid rooms with excessive echoes, such as those with hard surfaces or bare walls. Consider using curtains, carpets, and acoustic panels to improve sound quality and reduce any echoes. You can use your home office or even bedroom, so long as you set it up for optimal recording.
How to Soundproof a Home Music Studio
Soundproofing not only helps in capturing clean and accurate recordings but also enhances the overall acoustic environment for critical listening and accurate mixing.
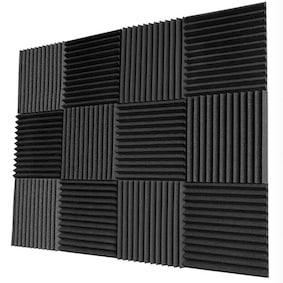
Consider applying acoustic treatments such as foam panels, bass traps and diffusers to improve the sound quality within your home studio space.
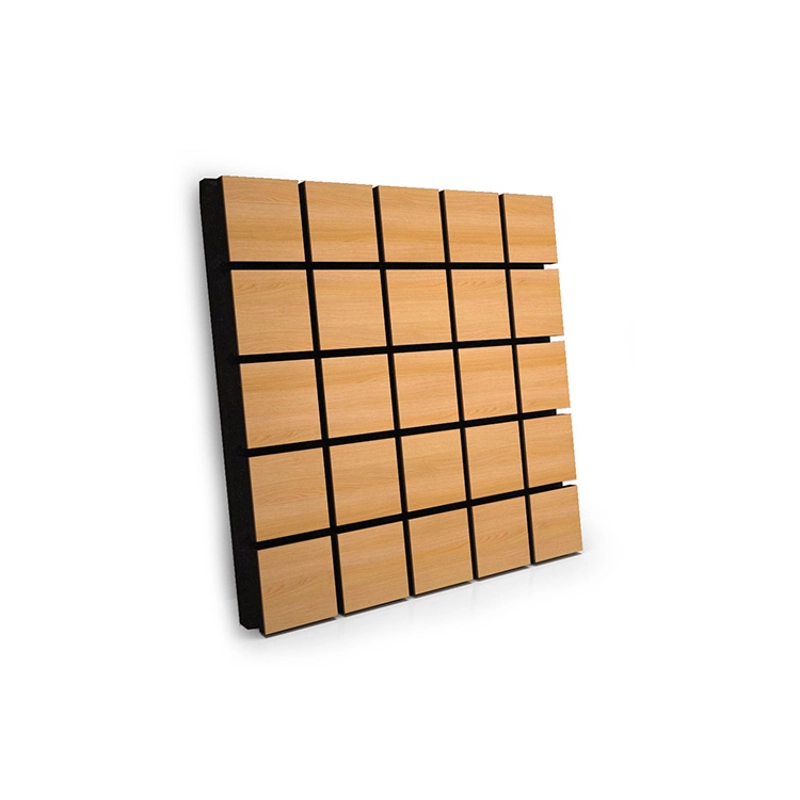
Where to Place Acoustic Panels in a Home Studio
To start soundproofing, you can begin by adding layers of insulation to your studio walls and ceilings. Consider using materials like mass-loaded vinyl (MLV), acoustic foam, or mineral wool insulation to reduce sound transmission.
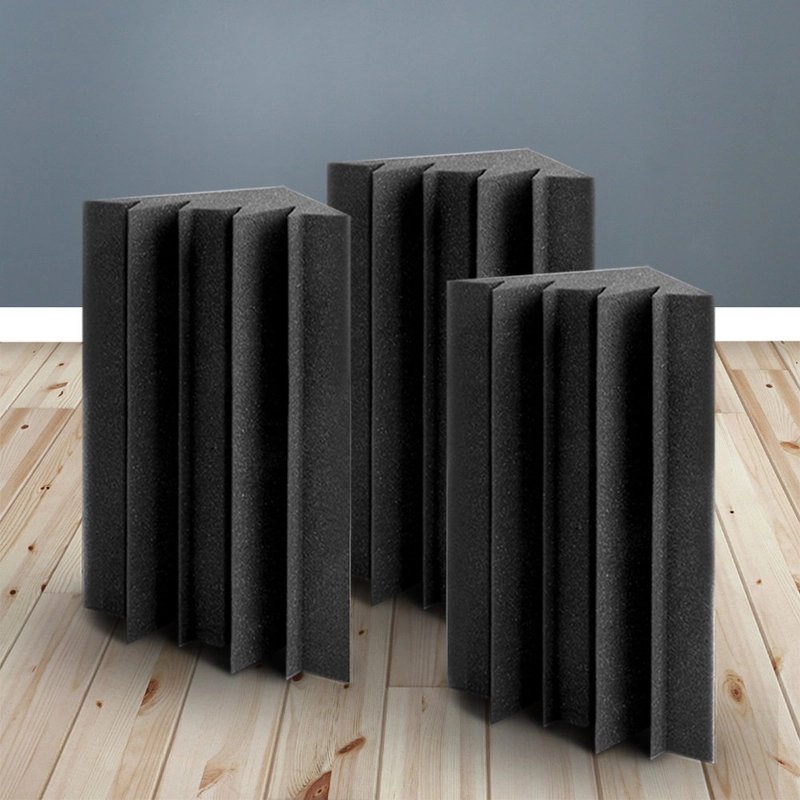
Seal any gaps or leaks around doors and windows using weatherstripping or acoustic sealant when recording. You can install door sweeps or add soundproof curtains to minimise sound leakage.
Identify the primary reflection points in your studio, which are areas where sound bounces off the walls and causes unwanted echoes. Place acoustic panels on the side walls, directly across from the monitors, and at the first reflection points on the ceiling.
If you have a dedicated spot you usually record, place panels on the walls to minimise reflections and improve the clarity of recorded vocals or instruments.


